How to accept a bathroom after renovation: the checklist to run before the final payment
Sergii9 min readWarsaw
The renovation is finished, the crew has cleaned up, everything shines. You look around, you like it, you hand over the final payment and shake hands.
Three months later the grout darkens in a corner. After six months, tiles come loose in two places by the shower. And it turns out the cracks on the edge of the large-format tiles were there from the start — neatly filled with colour-matched grout, while you were looking at the big picture instead of straight at the corners.
The problem is not that you were cheated. The problem is that accepting a bathroom is a skill of its own, and almost nobody explains how it is done. Below is a checklist that takes forty minutes to run — and is worth roughly as much as the renovation itself.
A typical scenario that repeats itself over and over
Someone renovates with large-format tiles. The crew promised the external corners would be mitred at 45 degrees — beautiful, no plastic trims.
The acceptance happens in the evening, under overhead light. Everything looks great. The money is handed over.
A month later, in the side light from the mirror, the owner notices that the edge of one corner is chipped, and the chip is filled with colour-matched grout. Then two more turn up just like it. None of them were visible under overhead light — the shadow fell so that the edge looked intact.
The crew no longer picks up the phone. Formally, the work has been accepted.
This is not a story about crooks. Large-format tiles are hard to cut, and edge chips happen even to good fitters. The difference is that an honest contractor points the defect out and replaces the element, instead of filling it with grout and hoping you will not look closely.
Rule number one: side light
Overhead light is the worst possible lighting for an acceptance. It gives a flat, even wash in which you can see neither deviations in the plane, nor chips on the edges, nor differences in joint width.
Take an ordinary torch or turn on your phone's flashlight and run the beam along the wall, almost parallel to the surface. Anything that protrudes or sinks will immediately cast a shadow. This is how plaster is checked — and for some reason nobody applies it to tiles.
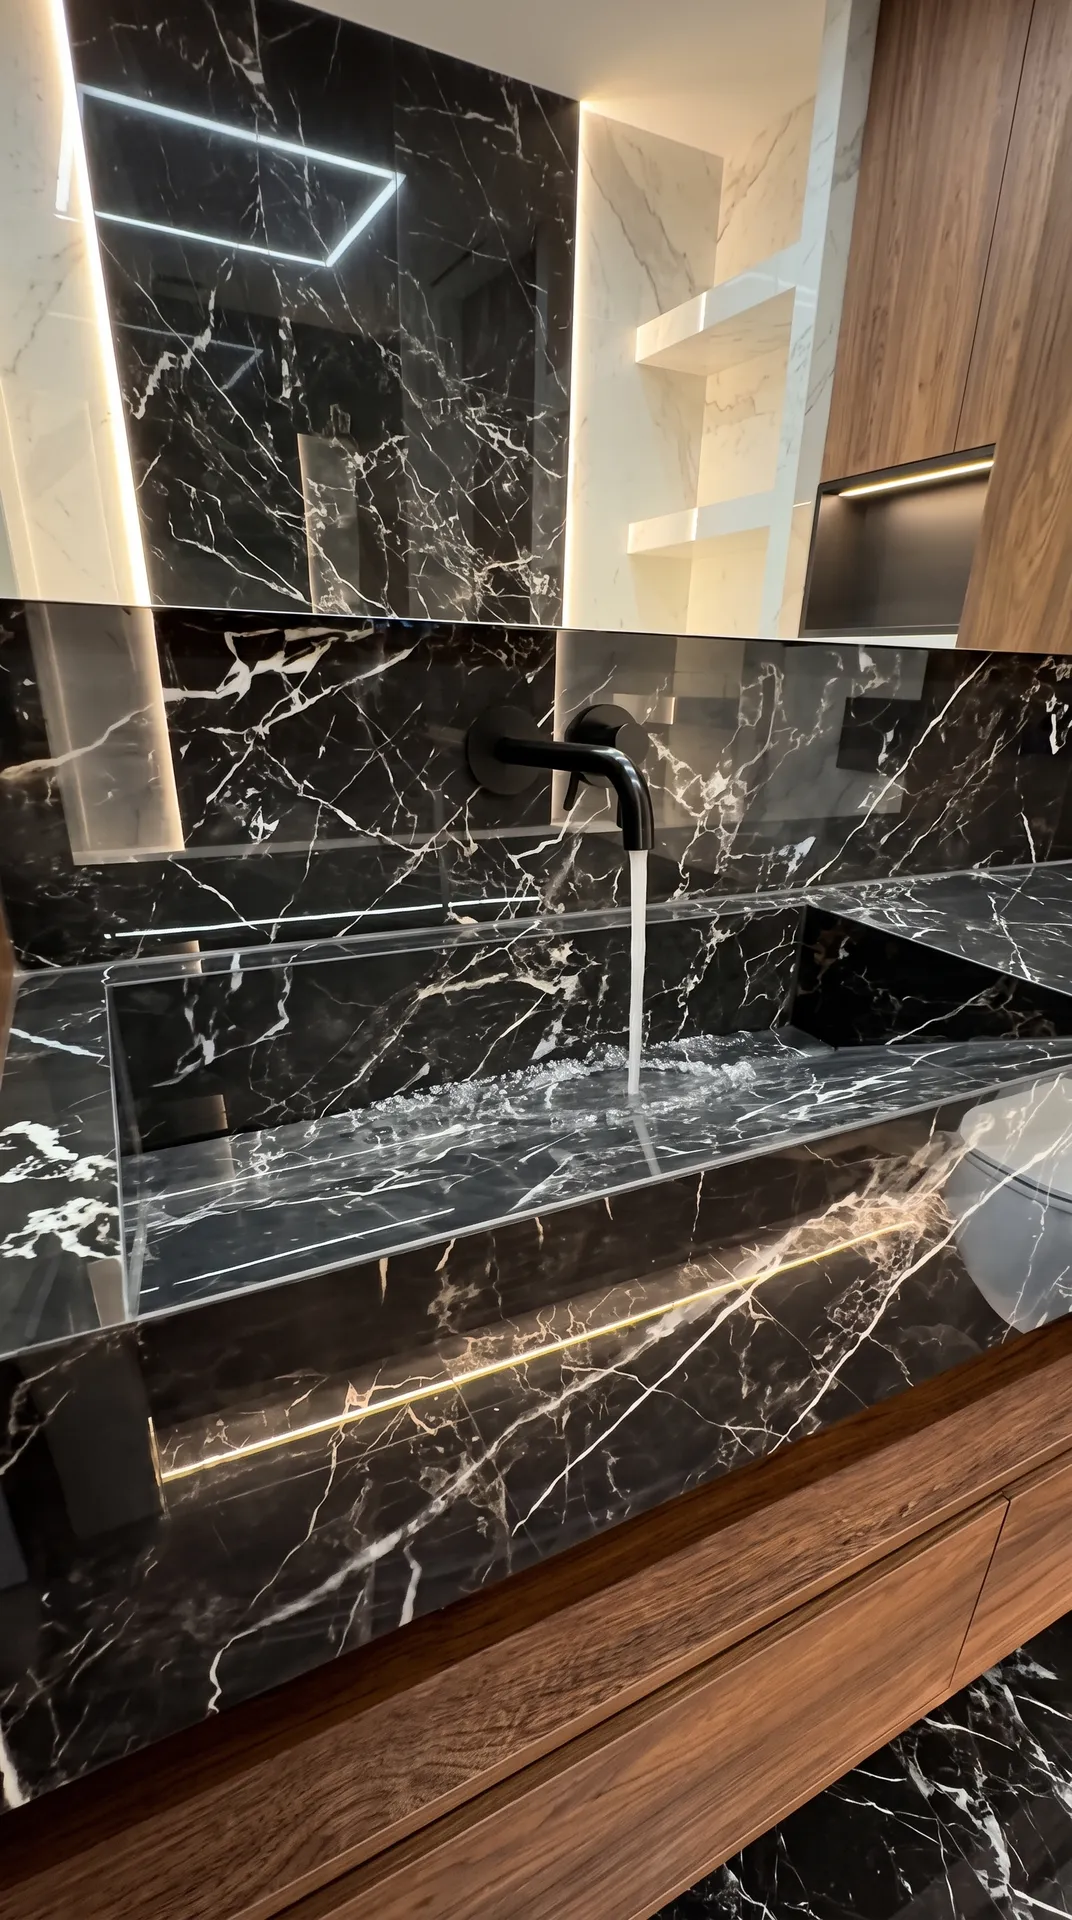
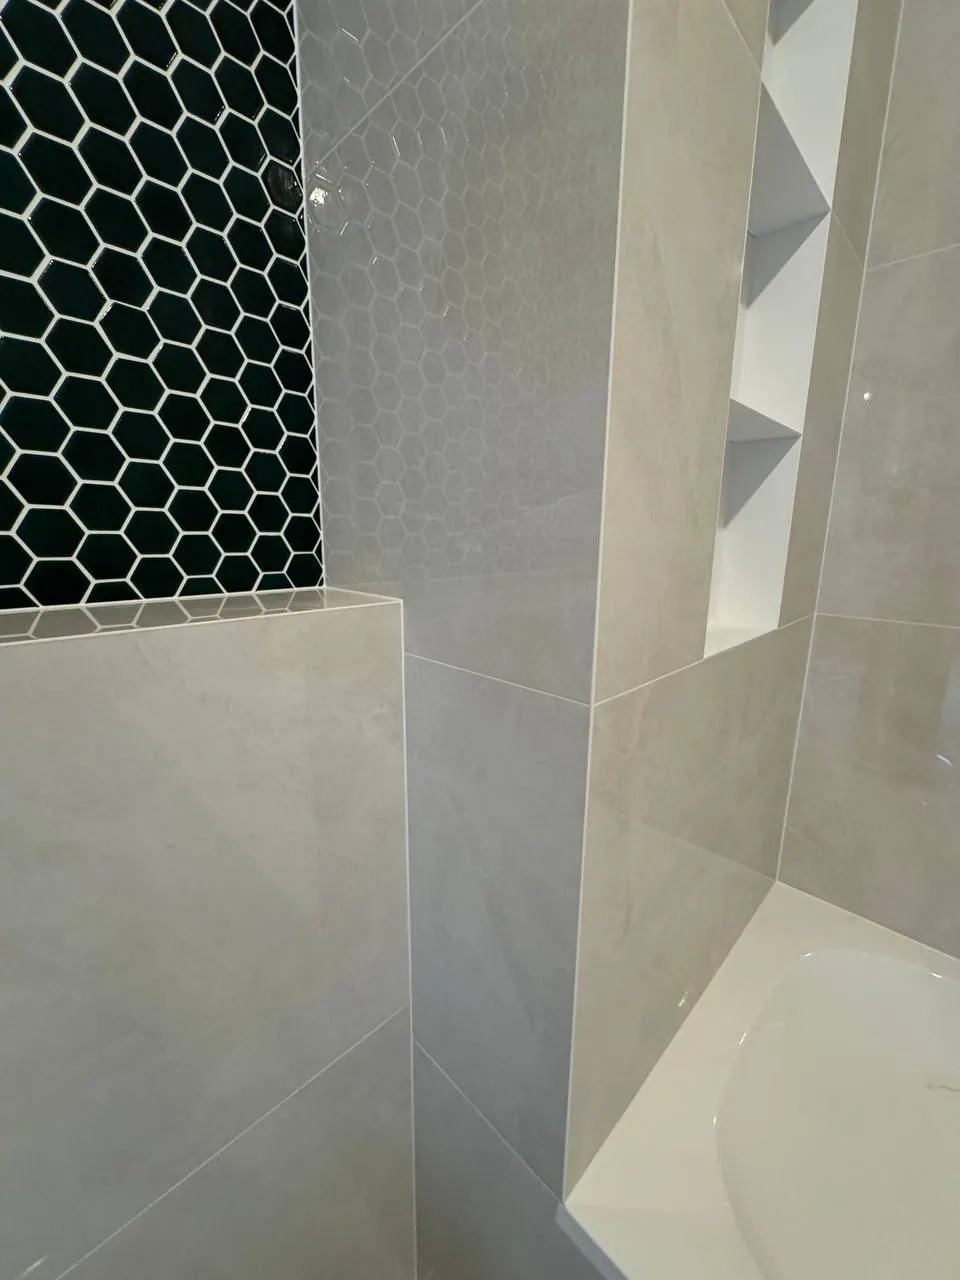
Use the same trick to inspect every external corner up close, from thirty centimetres away. A 45-degree mitred edge should be a continuous line with no crumbled patches. Grout on the edge is not 'by design' — it is a filled chip. We show what a proper 45-degree cut looks like in our article on custom tiled washbasins.
Checking the slope — with water, not by eye
The slope in a shower zone or a tiled tray cannot be judged visually. It is deliberately built so that it cannot be seen.
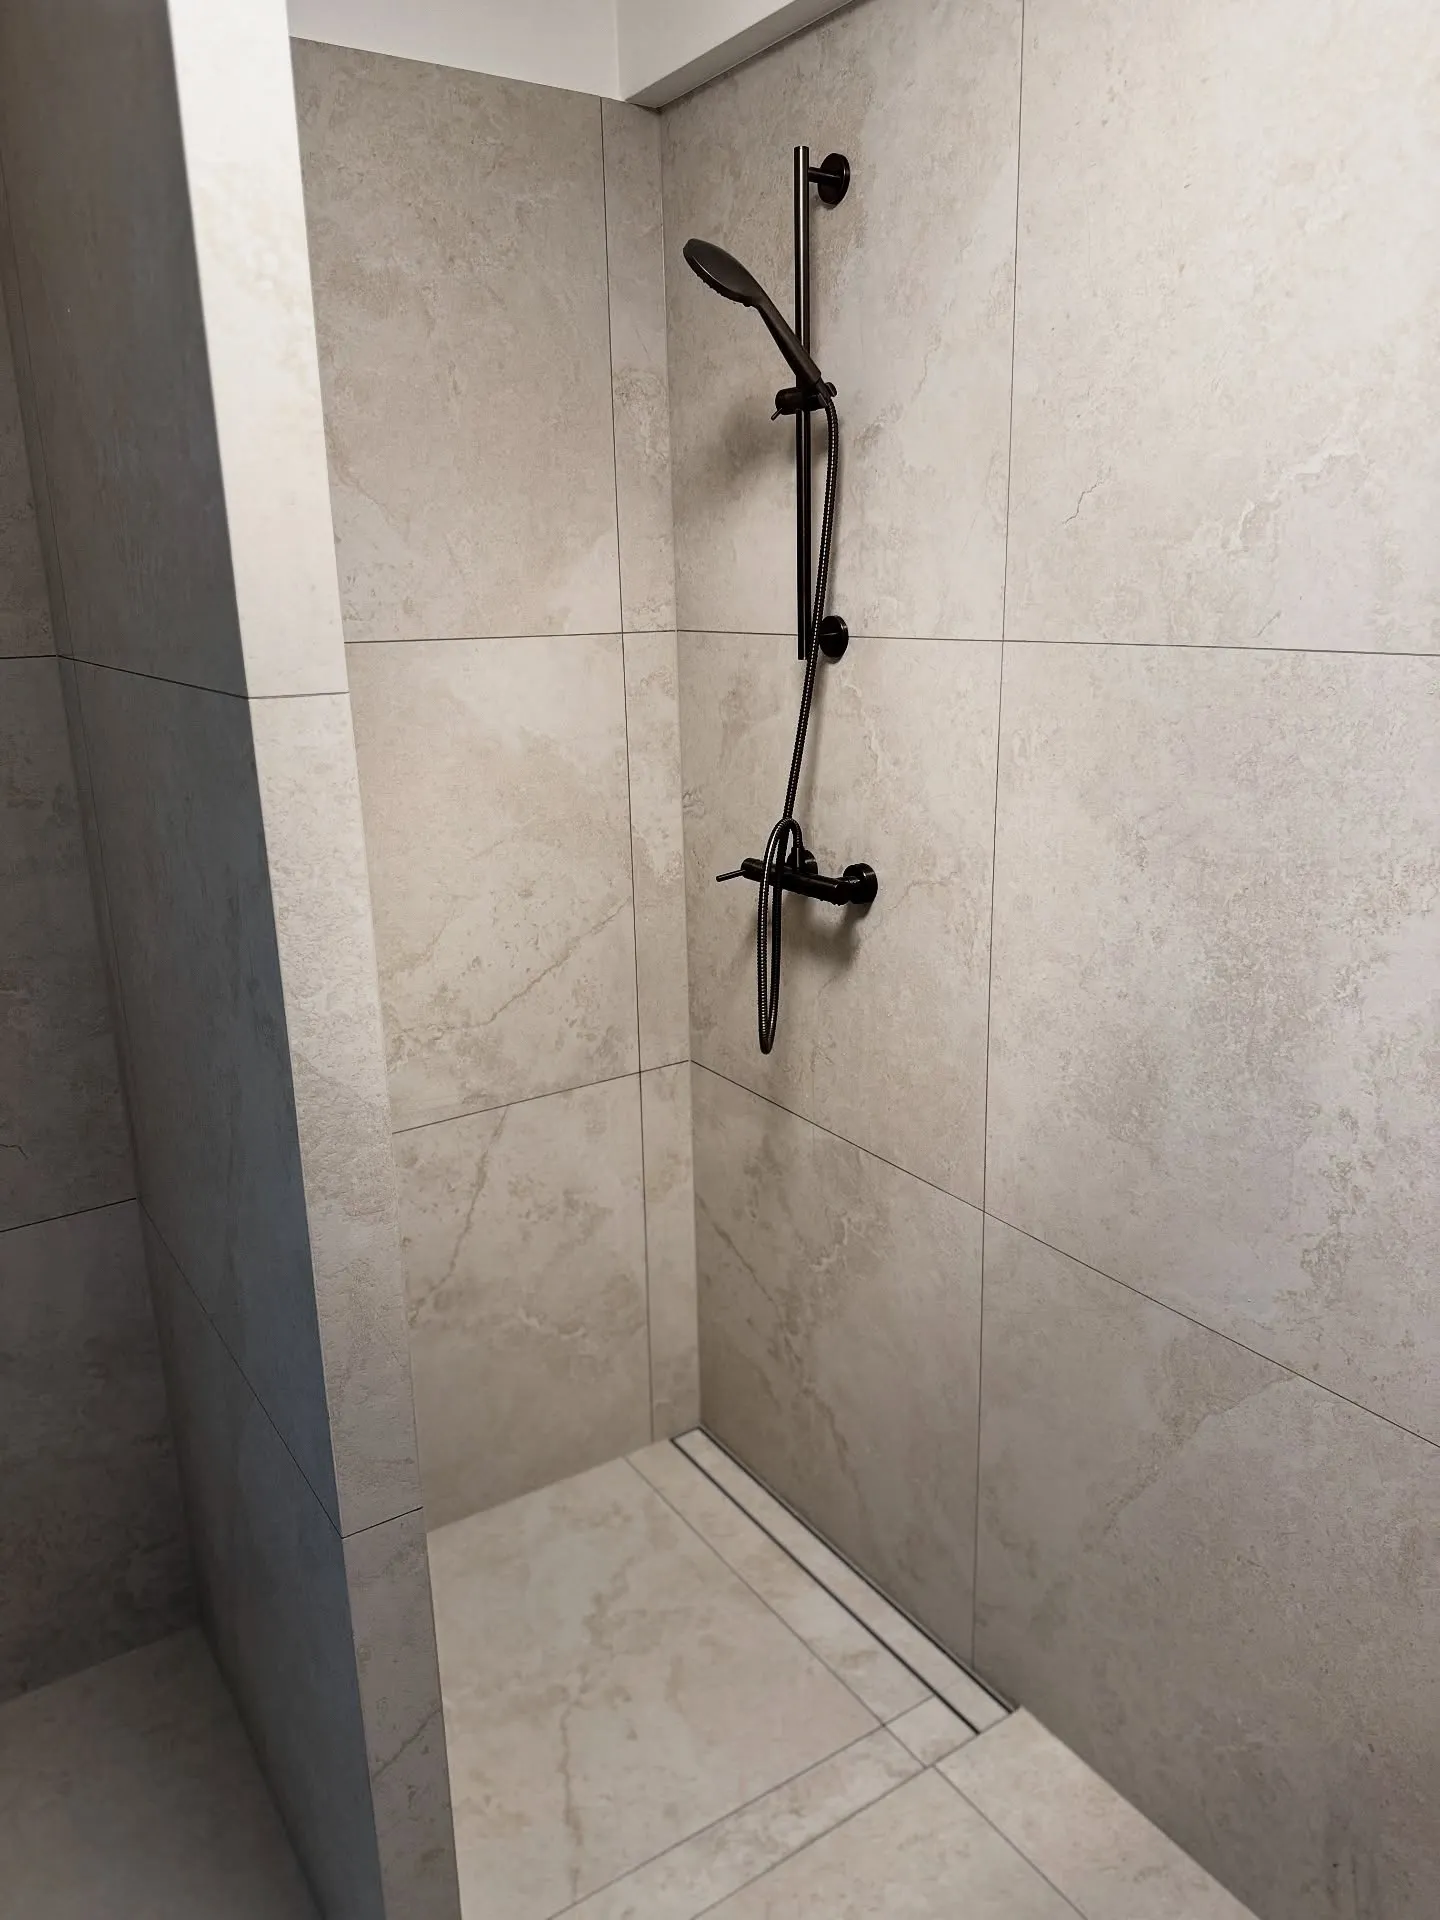
Pour a bucket of water onto the floor and watch. All of it should drain away without remainder. If puddles stay anywhere, the slope is insufficient — and that is not cosmetic: standing water leaves limescale that eventually will not wash off.
Check the drain too: water should go down quickly, without gurgling or backflow.
Tapping — voids under the tiles
The most underrated step, and the simplest. Take a coin or the handle of a screwdriver and tap every tile — floor and walls, the entire surface, not a sample.
A tile bedded on full adhesive sounds dull. A tile with a void underneath rings, like an empty box. Voids mean the adhesive does not cover the whole surface. Such a tile will crack under load or come away with time — especially on the floor, and especially with underfloor heating.
This is a defect that only tapping will find — nothing else.
Joints and the plane
Hold a long straightedge or a flat batten against the wall in several places, including diagonally. Gaps under it show how flat the plane is. With large formats this is critical: the bigger the slab, the more visible any step between neighbours.
Check the joint width — it should be identical across the whole surface. Wandering joint width betrays haste.
Separately, check the lippage between neighbouring tiles — run a finger across the joint. A noticeable step means the plane was not held.
Corners, junctions and sealant
In the corners between wall and floor, and around the perimeter of the bathtub or tray, there should be flexible sealant, not grout. Grout in these places is rigid while the structure moves — it will crack within the first year.
Check that the sealant bead is even, with no gaps or smears.
Ventilation — the sheet-of-paper test
The step everyone forgets. Hold a sheet of paper against the ventilation grille. It should stick and be held by the draught.
If it does not hold, the extraction is not working — and in a bathroom where good waterproofing and tight joints have just been installed, moisture will settle on the walls. That is guaranteed mould, whatever the quality of the tiling.
Access to services
Check that every shut-off valve, meter and inspection hatch can be reached without demolishing the finish. This is what you remember in an emergency, when the water needs to be shut off within a minute.
The inspection hatch should open freely — not 'you need to pry it with a knife'.
Plumbing and electrics
- Hot and cold are not swapped.
- The tap does not wobble; the mounting is rigid.
- The toilet does not move; water drains completely.
- Every socket works; the RCD trips when tested.
- Lighting and the extractor switch on as designed.
- Underfloor heating must be tested in operation: switch the thermostat on and check by hand an hour later that the floor genuinely heats — across the whole area, not in patches.
- No leaks under the washbasin or at connections — wipe everything dry and check again an hour later.
What you cannot check later
Waterproofing is hidden under tiles. Pipework is hidden under screed. The structure under the tray is hidden behind cladding. Physically, none of it can be checked at acceptance.
The only protection is photo documentation before covering. Ask for photos and video of every hidden stage: waterproofing before tiling, pipework before screed, structure before cladding. It is not a sign of distrust — it is normal practice.
If the contractor refuses, that is your answer to whether to keep working with them.
Deferred acceptance: come back in a month
The key step missing from every checklist. Some defects physically cannot show up straight away:
- grout darkens or cracks in the corners;
- a tile over a void starts to move;
- sealant peels away from the edge;
- traces of leaks appear at connections;
- an insufficient slope becomes visible — through limescale.
So it is worth writing a deferred acceptance into the contract, three to four weeks later, with a small part of the sum held back until then. It is standard practice in construction, and a conscientious contractor agrees to it calmly.
What to do if you find a defect
Do not stay silent and do not hand over the final payment 'we'll sort it out later'. Put it in writing — a message, a photo, a date. Verbal promises of fixes do not exist.
If you have a contract with a defined scope and a warranty, you are in a strong position. If there is no contract, you are in the position of a supplicant.
How we work
We renovate bathrooms in Warsaw and the surrounding area under a contract with a 3-year warranty on all work.
We report progress with photos and videos in a private Telegram channel for your project — including the hidden stages that cannot be checked once the tiles are laid: waterproofing, pipework, the structure under the tray. You see every stage at the moment it can still be controlled.
We run the acceptance together, point by point. If a defect is found, we fix it — we do not fill it with grout.
Frequently asked questions
About forty minutes, going through the points unhurried. Less than that means something was skipped.
The main inspection is better in daylight. But the torch-along-the-wall test works at any hour and finds what daylight does not show.
Yes. Voids are distributed randomly; a sample check misses them. It is five minutes of work.
That is a signal in itself. A good contractor wants you to check everything right away — fixing it now is cheaper for them than under warranty six months later.
For a large or expensive renovation — yes, it is money well spent. For a standard bathroom the checklist above is usually enough.